- May 2, 2022
How to Choose Fishing Floats & Use Them to Catch More Fish
Floats or bobbers come in many sizes and shapes and in fixed and slip-float configurations. This float fishing guide removes the mystery.
The mention of bobber fishing commonly calls up a mental image of an idyllic pond setting with a youngster watching a cork on the water’s surface. However, floats (commonly called bobbers) have come a long way. While the basic mechanics remain the same, many of today’s floats are designed to be more bite-sensitive, are created for specific purposes and are integral to many anglers’ arsenals.
Depending on the intended angling technique, a float could be part the presentation for any freshwater fish. Bluegills, crappie, smallmouth bass, white bass, trout, bowfin and catfish are among the fish I have targeted with a float. The line-up of Thill Floats encompass a variety of floating bite-indicators for still-water, current, and long-distance casting.
Float Selection
The first decision point in selecting and using a float is whether to go with a fixed float or a slip float. The difference is as simple as the name. A fixed float is attached to the line and does not move. The slip float slides up and down the line between the bait and a bobber stop affixed to the line.
From my fishing perspective, a slip float has several distinct advantages over a fixed float. However, there are instances when a fixed float is a better choice.
Let’s examine the slip float. For distance and accuracy in casting, a slip float has the absolute advantage. As you prepare to cast, the float slides down the line next to the bait and any added split shots, thereby centering the weight at the end of the line. The cast will sail smoothly to the target area. Upon splash down, the combined weight of bait and split shot begins to sink, pulling line through the slip float until the float reaches the pre-set bobber stop.
If your intended presentation is still fishing the bait or lure in one location or to let gentle waves move the bait slowly, the distance between the float and bait will remain constant.
However, if your intended presentation is “swimming” the bait (typically a jig) at a precise depth across a stretch of water by retrieving line, then the line would be pulled through the sliding float until the combined bait/split-shot is tugging on the float. Suddenly your bait is only inches under the surface.
This is where a fixed float shines. When swimming a bait suspended under a fixed float, the distance between bait and float remains constant. There will only be a couple inches change in the depth as the bait rises slightly when moving.
A fixed float is also the better choice for fishing strong currents with relatively small to moderate size baits. The pull of the current on the float can drag line through the slip float thereby lifting the bait in the same manner as winding in line.
Because of the simple attachment that doesn’t involve added rigging, a fixed float also works best if you want to alternate between float and no-float presentations with the same offering during a day.
There are drawbacks to a fixed float. The primary problem is tumbling or somersaulting of bait and float during a cast thereby reducing both distance and accuracy. This is the result of separation between the float and combined bait/split-shot. It’s not too bad if bait and float are separated by a couple feet. But when the distance increases more than 3 feet, the cast will be messy. Using a longer fishing rod (8 to 10 feet) will help you to lob the float – but the distance between float and bait cannot be longer than the rod.
The Thill America’s Favorite Float series includes a good variety of sizes and shapes of balsa floats in fixed and slip-float configurations.
Attaching a Float

Attachment of a fixed float to a line is simple. The most common methods are built into the bobber. On some bobbers, push the “button” which exposes a j-shaped wire clip; then slip the line under the clip and release the button. Another basic attachment is the wire spring and slot; use your forefinger and thumb to compress the spring, place the line in the slot and release the spring to hold the line in position.
Unique to the Thill Premium Steelhead Float is latex tubing on the bottom neck of the float. Push back the tubing to expose a slot for the line, insert the line, then pull the latex sleeve down to securely hold the float in place. Compared to wire clips, the latex sleeve method is less likely to nick or pinch small-diameter lines.
Attaching slip floats require more explanation. Whether the line slides through the center of the float or only through an eye on the bottom of the float, the process is the same.
A slip float requires the use of a bobber stop. There are several styles, but I prefer the adjustable knot and stop bead like a Thill Premium Bobber Stop. Each pre-tied knot comes on very short piece of plastic straw. Here are step-by-step directions.
- Slide the plastic straw onto the line. Slide the knot off the straw onto the line. Remove the piece of plastic straw. Gently pull the two ends of the knot to lightly snug it on the line. Push the knot up the line to the desired depth setting.
- Slide the bead onto the line.
- Exercising care to keep the bead on the line, slide a slip float onto the line.
- Tie a bait hook or jig to the tag end of the line.
- Take both tag ends of the knot and pull firmly to snug the knot against the line so it does not slide – but not overly tight. Trim the knot leaving about 1/2-inch tags. In order to make depth adjustments, it is vital to allow just enough slack in the knot so it can be repositioned.
Top Float Presentations

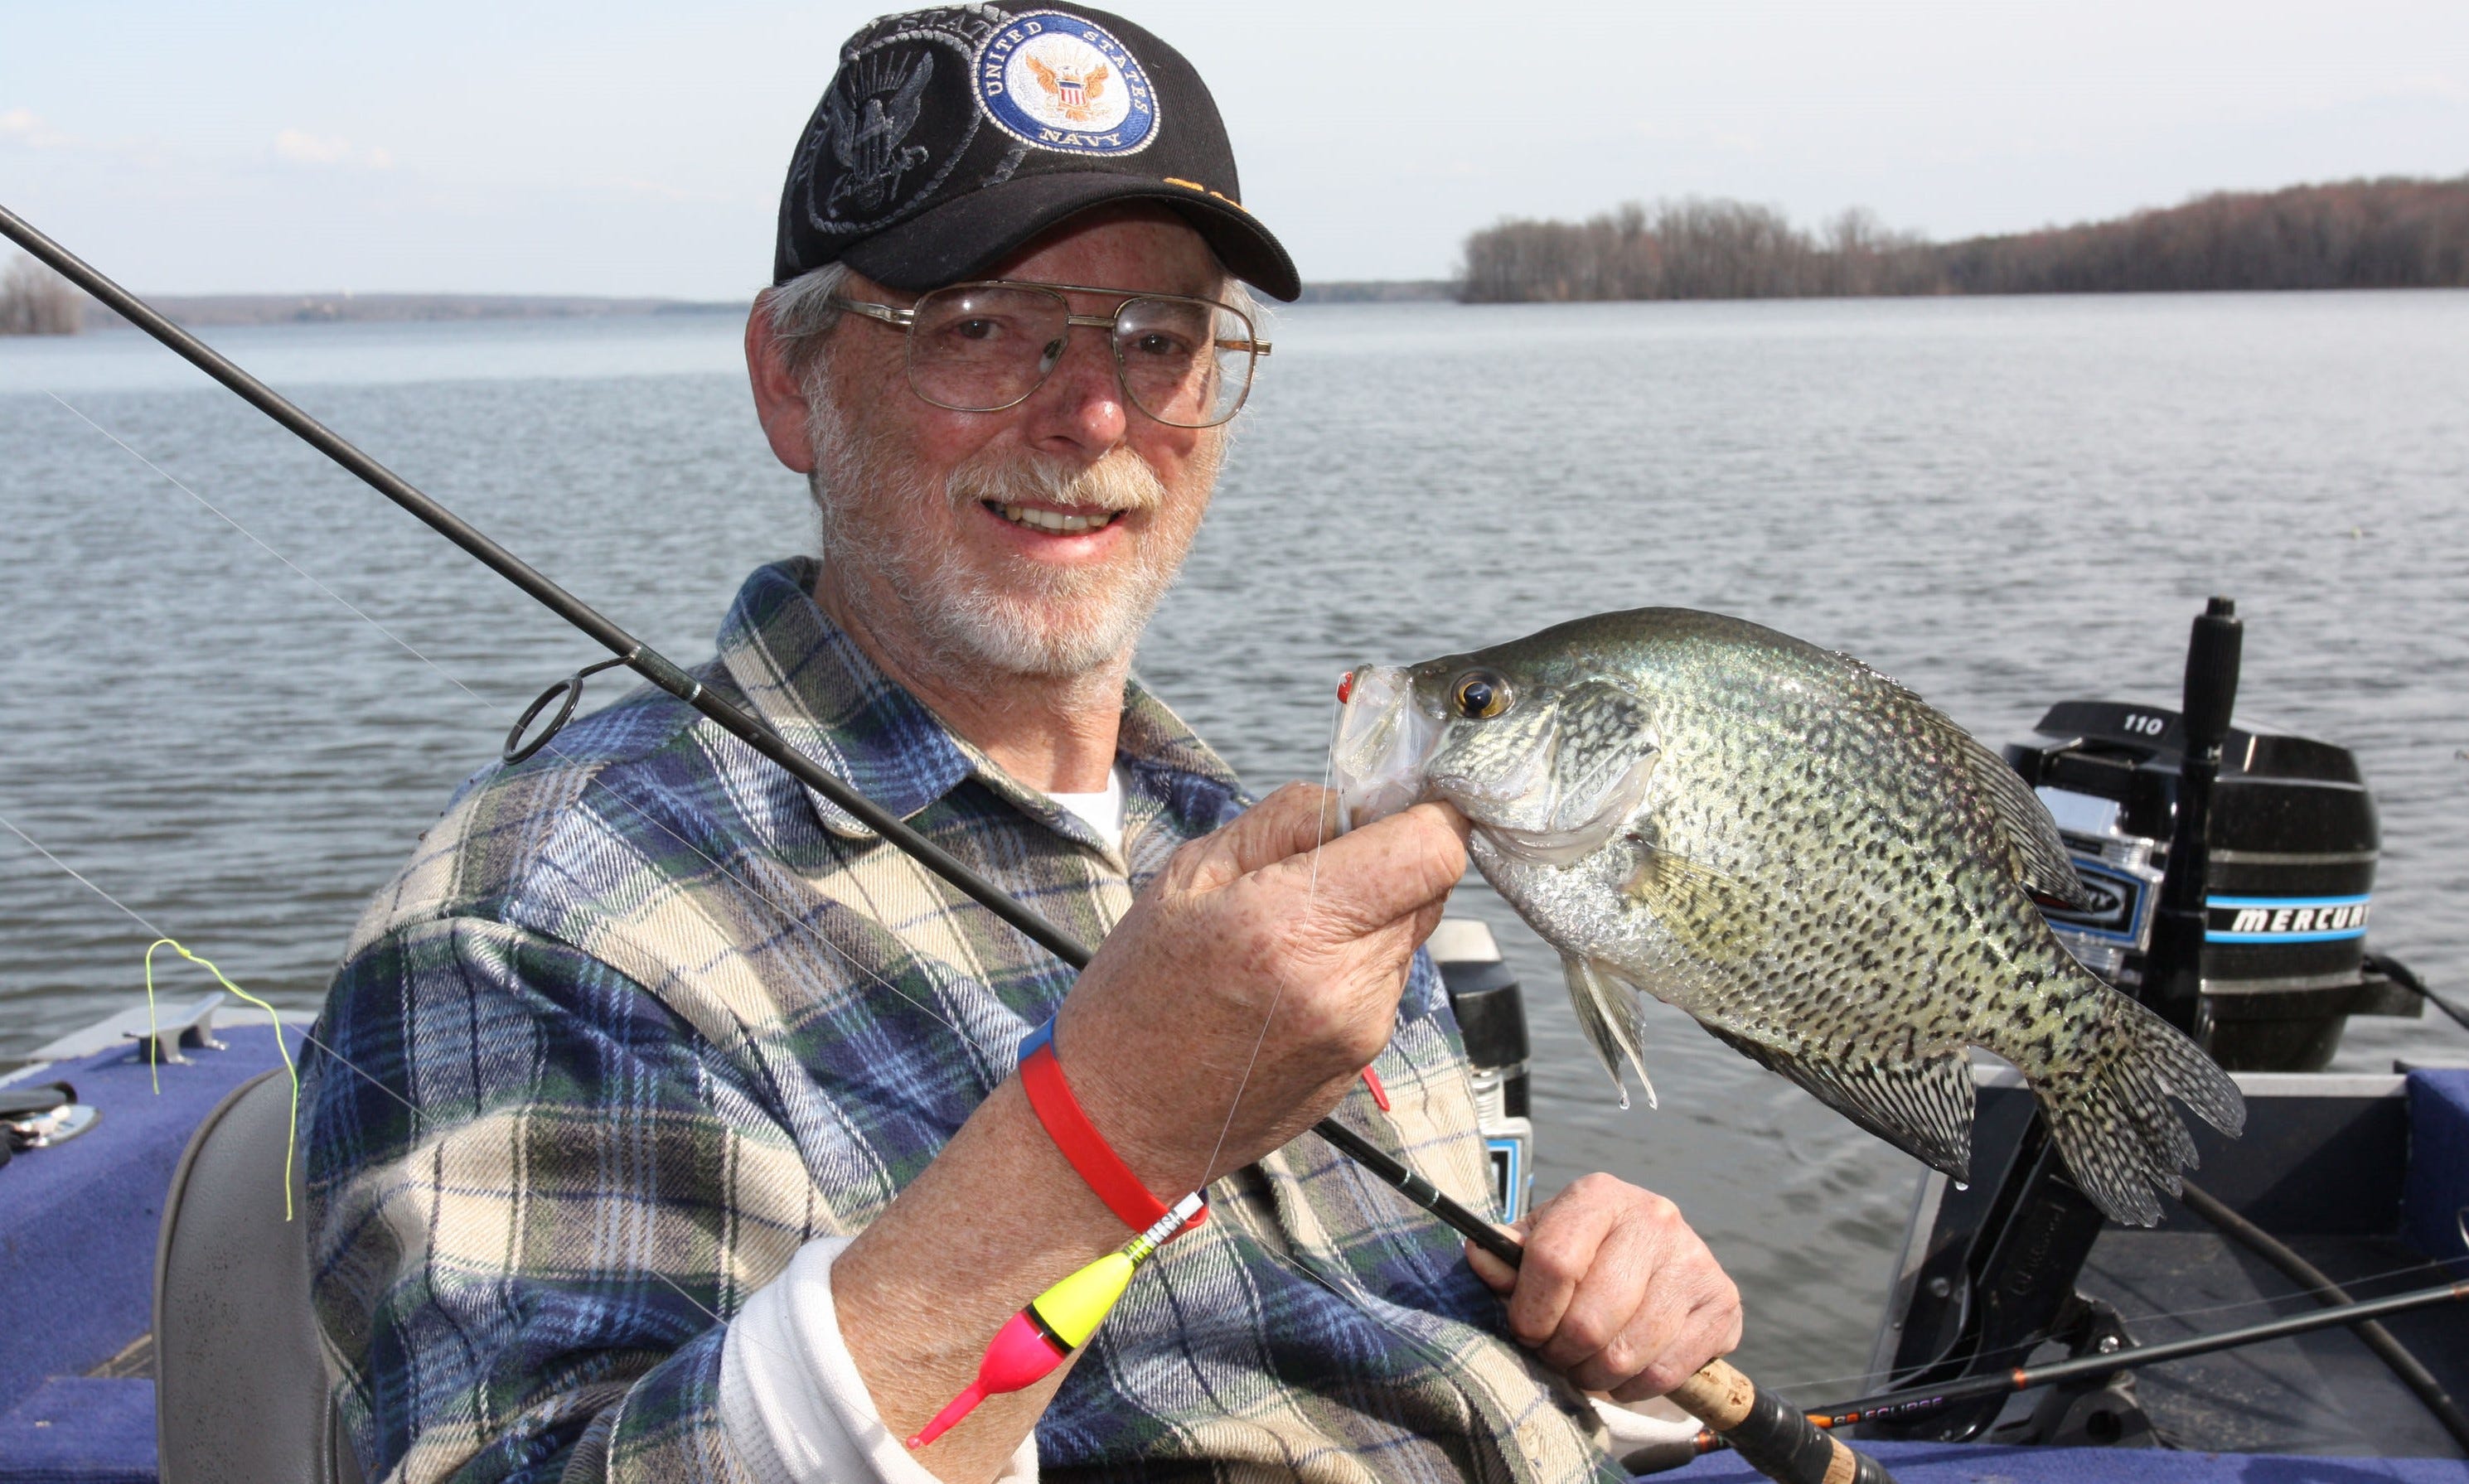
My favorite slip float presentation for crappie is a 1/24- or 1/16-ounce ounce leadhead with a 2-inch Bobby Garland Baby Shad below a 1/16-ounce Thill Crappie Cork; sometimes I substitute a hand-tied hair jig for the Baby Shad. I fish this rig from early spring to early summer around shallow wood cover, emerging weedbeds, and rock piles to depths of about six or eight feet – adjusting the depth as needed. During the presentation, I will occasionally shake the float or move the float about a foot at a time.
My rig for shallow bluegills from late spring through early fall is a 1/32-ounce leadhead with a 1-inch soft plastic body suspended between 18 inches and 30 inches below a small fixed bobber. Depth setting depends on height of weed growth being targeted. I cast and swim the bait slowly above submerged weeds, pausing often as the bait nears the deep weed edge.
When white bass are busting young shad on the surface of a lake in mid to late summer, I like a 3/8- or 1/2-ounce Thill Wobble Bobber. With this weighted slip float, it is possible to make extra-long casts. I use a 3/16-ounce hand-tied white hair jig to resemble a small shad; set the bobber stop for 6 to 8 feet.
Schooling white bass love to hit a stunned baitfish that is dropping after being struck. The Wobble Bobber allows me to pull the jig towards the surface, then let the jig fall back on slack line until the bobber stop is reached. Repeat again, and again – until a white bass slams the jig!
Float Fishing Tips
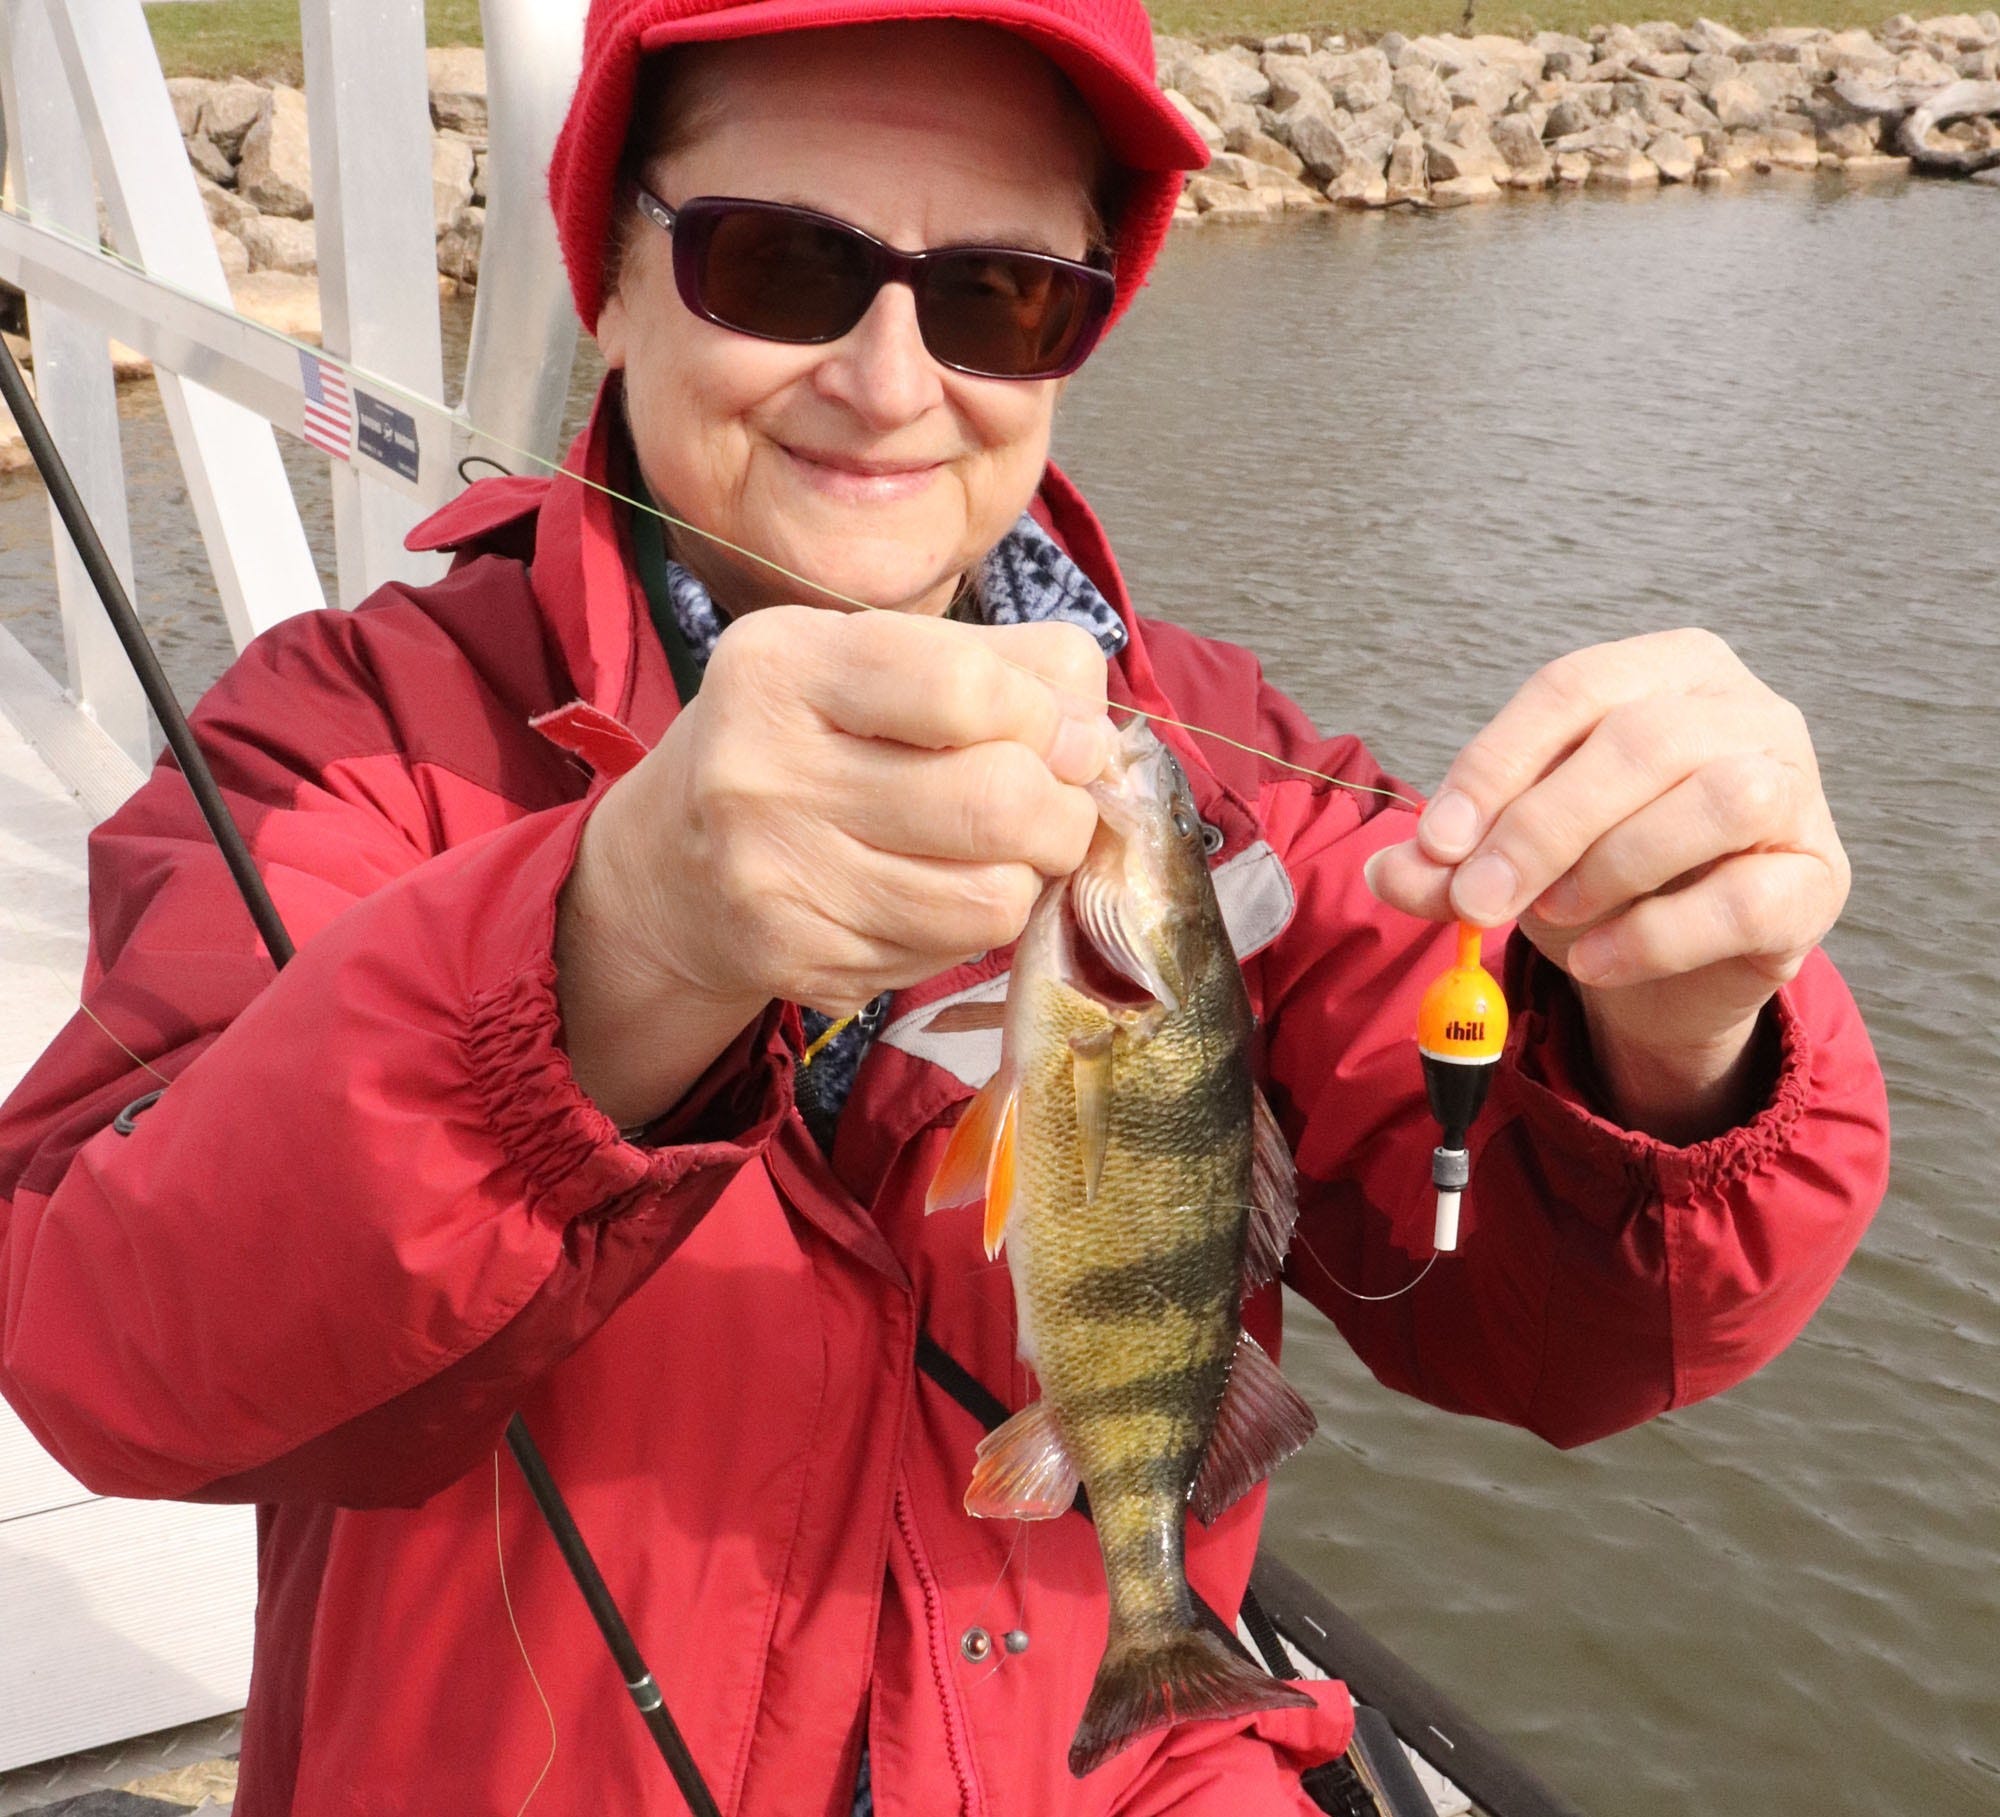
- To cover various situations, carry both slip floats and fixed floats in the sizes that best meet your species of interest. Match the buoyancy (body size) of the float to the weight of the bait being used and size of fish targeted. Smaller floats are perfect for panfish and trout. Mid-size floats work for crappie, white bass, black bass and walleye. Large floats like Thill Big Fish Sliders are useful for large species, including catfish, stripers, muskies and northern pike.
- To improve bite detection and reduce wind impact on the float, crimp sufficient split shots onto the line in to submerge a portion of the float body, leaving the colorful upper portion visible. Some Thill Floats are labeled for specific weights to help make the right selection.
- When applying spit-shot, do not crimp too tight. This may weaken the line as well as prevent later adjustments. Removable “eared” split-shot are the best bet. Using only fingers to squeeze them will allow easy removal.
- When using bobber stop knots, always buy an additional packet of small-hole beads because, no matter how careful you are, beads will be lost during rigging in the field – guaranteed!
-

Great surface action occurs before the primary topwater bass fishing season heats up – if you use the right tactics!
-

It’s Shad Week, brought to you by Lurenet – just in time for the shad spawn in many areas. Let’s look at how to make the most of the great bass catching opportunity that occurs when bass spawn.
-

The same lure that helped Jason Christie win the 2022 Bassmaster Classic is also spectacular for catching walleyes – with presentations catered to the species’ preferences.